

Wood paneling is one of those distinctive mid-century design elements that define an era. From ranch houses to iconic Eichler homes, these wall coverings became an instant classic, offering warmth, texture, and an undeniable charm.
In the 1940s, wood paneling emerged as a practical solution for post-war housing needs, propelled by new technologies making plywood and veneer accessible and affordable. By the 1950s and into the ’60s, paneling had become synonymous with mid-century style, praised for its versatility and the cozy yet sleek aesthetic it brought into American homes.
Types of Mid-Century Wood Paneling
The mid-century era featured several distinct types of wood paneling, each with its unique character:
- Plywood Paneling: Affordable, lightweight, and versatile, plywood panels were often stained or painted and easily matched to other interior elements.
- Veneer Paneling: A thin layer of real wood atop plywood or MDF allowed homeowners to achieve the look of expensive hardwoods, like walnut or teak, without breaking the bank.
- Tongue-and-Groove: Solid wood boards fitted together seamlessly for a sleek, continuous appearance often used for accent walls or ceilings.
- Knotty Pine: Known for its rustic charm, knotty pine became especially popular in dens, family rooms, and vacation homes, imparting a relaxed, natural feel.
Wood Paneling in Interior Decoration: Why It Worked
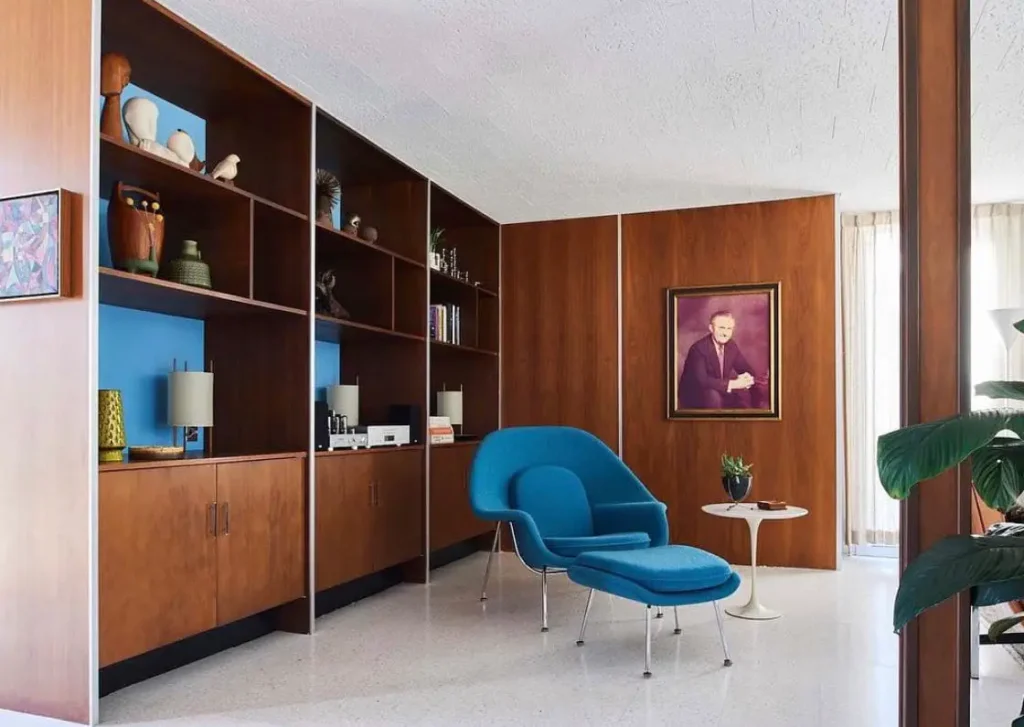
Wood paneling’s popularity stemmed from more than mere aesthetic appeal. Its versatility was unmatched, effortlessly complementing a range of mid-century décor styles—from streamlined modern to kitschy comfort.
Mid-century interiors, celebrated for their distinct and often bold designs, benefitted immensely from the integration of wood paneling, as it provided a natural counterbalance to more stark, minimalist elements. For example, sleek furnishings with chrome legs, bright Formica countertops, or vibrant, geometrically patterned textiles were visually softened and unified by the warmth and organic nature of wood.
Paneling introduced a comforting aesthetic to living spaces, turning sterile environments into inviting, cozy retreats that encouraged relaxation and social interaction.
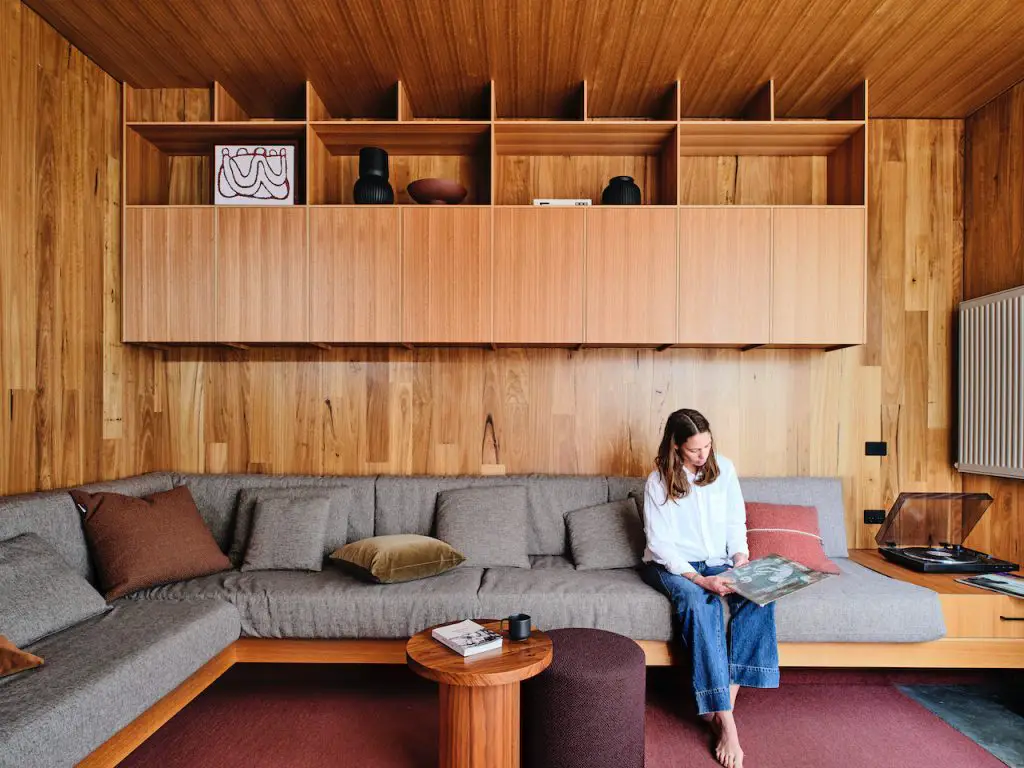
Moreover, wood paneling also resonated deeply with mid-century principles of indoor-outdoor harmony, a key hallmark of the era’s architecture and interior design philosophy. Homes of this period often featured expansive windows and open floor plans designed to seamlessly blend interior and exterior spaces. Wood paneling, especially varieties like knotty pine and rich walnut veneers, naturally amplified this effect by mirroring the natural world beyond the home’s walls, thereby reinforcing an overall aesthetic continuity.

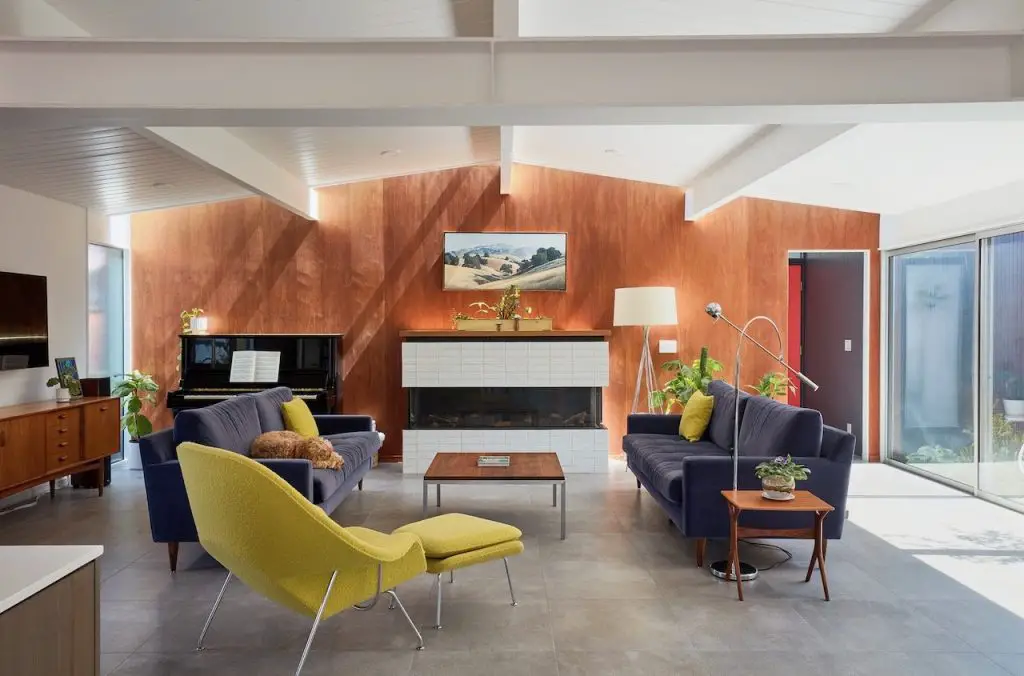
The practical advantages of wood paneling further underpinned its widespread appeal. As suburban development exploded during the post-war period, speed, efficiency, and affordability were crucial. Wood paneling offered a quick and cost-effective means to cover large expanses of wall space without the intensive labor and expense associated with traditional plastering or drywall finishing. This functionality made it highly attractive to builders and homeowners alike, significantly accelerating its adoption in mid-century residences.
Additionally, wood paneling proved exceptionally effective at concealing structural imperfections, a common issue in rapidly constructed homes. Its forgiving nature allowed contractors to deliver visually appealing interiors without the need for extensive preparation or refinement of underlying wall structures, which greatly accelerated the construction timeline and reduced costs.
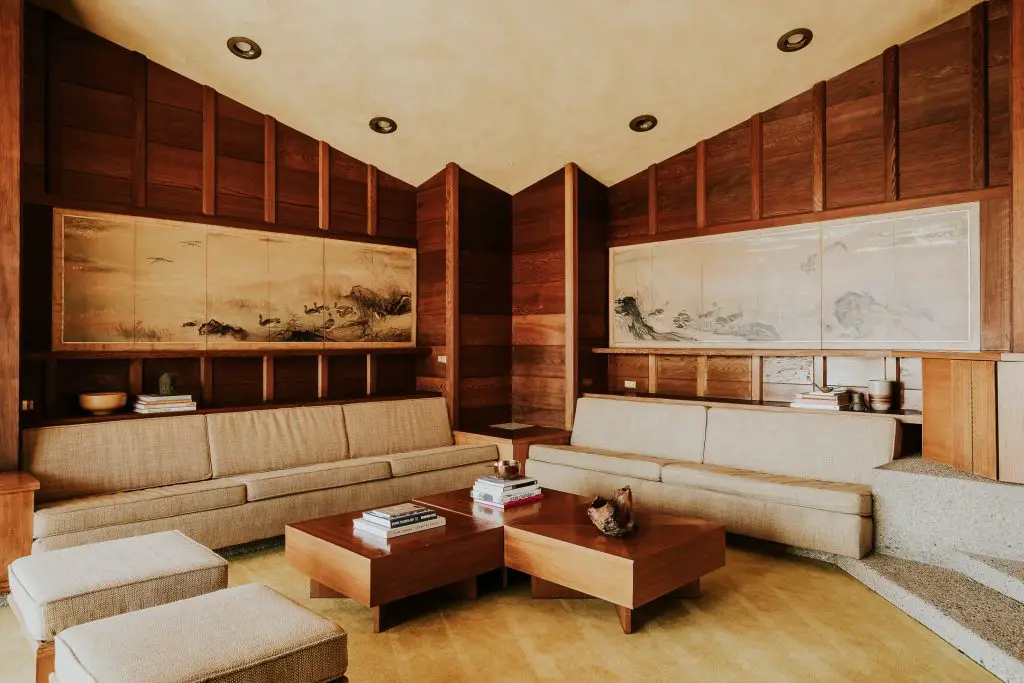
Ultimately, the enduring charm of wood paneling lies in its rare combination of beauty, practicality, and versatility, qualities that solidified its place in the mid-century interior design canon and continue to inspire admiration and nostalgia today.

Photo by Stephen Kent Johnson
Pros and Cons of Wood Paneling
Every material has its strengths and weaknesses, and wood paneling is no exception:
Pros:
- Provides excellent insulation, reducing heating costs.
- Instantly enhances aesthetic warmth and character.
- Easy maintenance and durability.
- Can conceal wall imperfections or uneven surfaces.
Cons:
- Susceptible to moisture, causing warping or discoloration.
- Can darken a room significantly if not balanced with good lighting.
- Difficult to remove without damaging underlying walls.
- Overly wood-paneled rooms risk appearing dated if not thoughtfully integrated.
Installation Steps and Tools Needed
For homeowners or enthusiasts eager to embrace authentic mid-century charm through wood paneling, here’s a simplified step-by-step guide, with essential tools you’ll need:
Tools Needed:
- Tape measure
- Level
- Stud finder
- Circular or jigsaw
- Hammer and finishing nails or pneumatic nailer
- Wood adhesive
- Sandpaper
- Paneling adhesive
- Safety goggles
Installation Steps:
- Prepare Your Wall: Ensure your wall is clean, dry, and smooth. Remove existing trim and baseboards.
- Measure and Cut: Accurately measure the wall space. Cut the paneling using your circular or jigsaw to fit around doors, windows, and outlets.
- Locate Studs: Use your stud finder to locate and mark wall studs clearly.
- Dry Fit Panels: Temporarily place panels on the wall to check fit, ensuring alignment and level using your spirit level.
- Adhesive Application: Apply paneling adhesive generously on the backside of your panels.
- Panel Installation: Press panels firmly against the wall, secure with finishing nails at studs, or use a pneumatic nailer for efficiency and accuracy.
- Trim and Finish: Install new trim or replace original trim pieces. Sand any rough edges for a smooth finish.
- Final Inspection: Verify all panels are securely attached, seams are flush, and adhesive has properly set.
You can also watch the video below to have a quick idea of the work involved, watching this video.
Embracing the Legacy
Whether you’re restoring a genuine mid-century gem or aiming to introduce authentic period detail into your home, wood paneling remains a timeless choice. Its combination of visual warmth, practicality, and straightforward installation underscores why it was—and remains—an integral feature in mid-century interiors. Choosing the right style, carefully considering placement, and thoughtful installation can ensure your wood-paneled walls stand the test of time, much like the mid-century homes they proudly adorn.
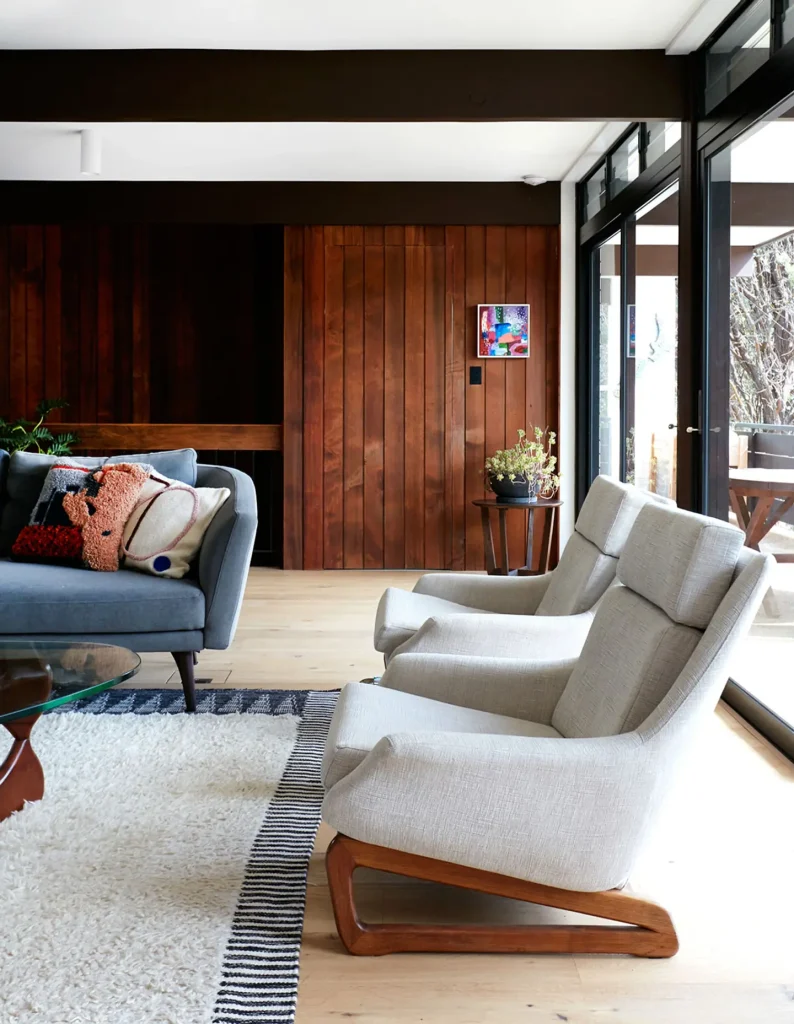
Photos by Jacqui Turk