VHT Studio
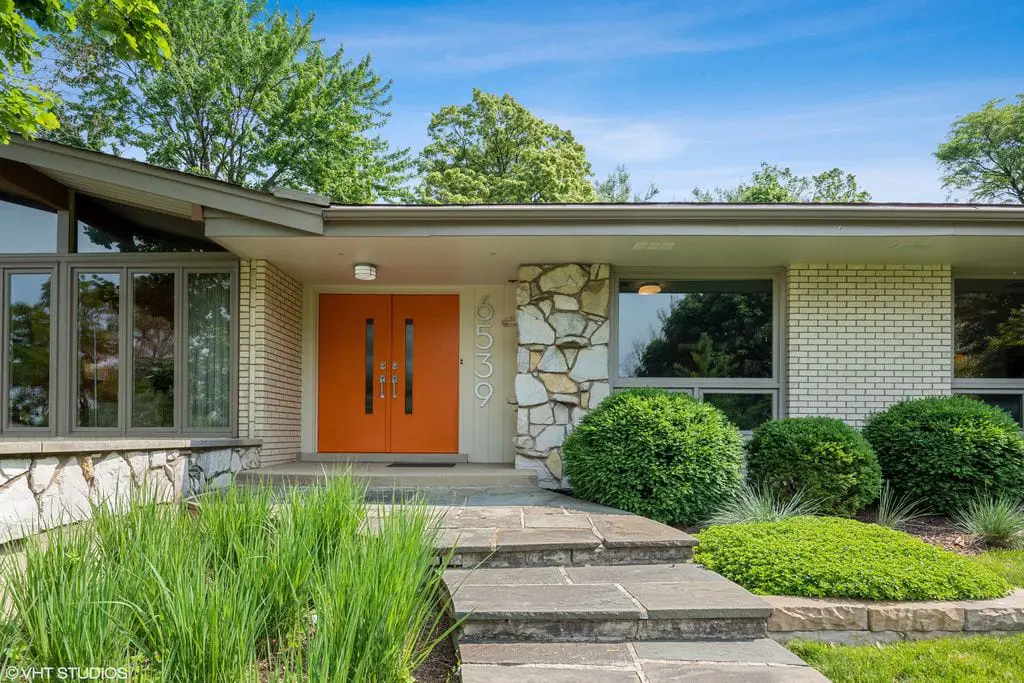
Sometimes, you don’t need a big renovation to give your home a mid-century vibe. Updating small details can instantly bring that retro aesthetic you love.
New door knobs are one of those simple changes that can make a noticeable difference.
We’ve done some research on mid-century knobs to help you with this fun project of bringing that retro vibe to life, and we gathered the results below. Along the way, we uncovered some fascinating history about door knobs—their evolution, their defining design characteristics, and where you can find both original pieces and quality reproductions today. Stick around until the end for a special bonus!
The Evolution of Mid-Century Knobs
Before the mid-century period, door hardware was often elaborate, with intricate details influenced by Victorian and Art Deco styles. Victorian-era hardware featured ornate patterns, scrolling designs, and heavy brass or bronze construction.
These knobs often had floral engravings and embossed details, acting as decorative focal points. Art Deco, which emerged in the 1920s and 1930s, introduced a more geometric and symmetrical approach, featuring stepped designs, streamlined motifs, and materials like Bakelite and chrome. These styles were bold and luxurious, reflecting the energy of their time.
The manufacturing process until the 1920s was largely manual, with skilled artisans casting and engraving metal knobs individually. Brass and bronze were often sand-cast and then polished or hand-engraved, a labor-intensive process that made each piece unique. The introduction of Bakelite in the 1920s revolutionized knob production by allowing for molded, mass-produced designs that were more affordable and available in various colors and finishes.
As mid-century modernism took hold in the 1940s through the 1960s, door hardware followed suit, shifting towards sleek, minimalist designs. Inspired by Bauhaus and Scandinavian modernism, these pieces prioritized function over ornamentation, with simple shapes and high-quality materials. Advancements in industrial technology, such as die-casting and electroplating, made it easier to mass-produce hardware in clean, uniform designs, ensuring affordability and accessibility.
Also aluminum and chrome-plated steel became widely used, offering a sleek, modern look with improved durability and resistance to corrosion.
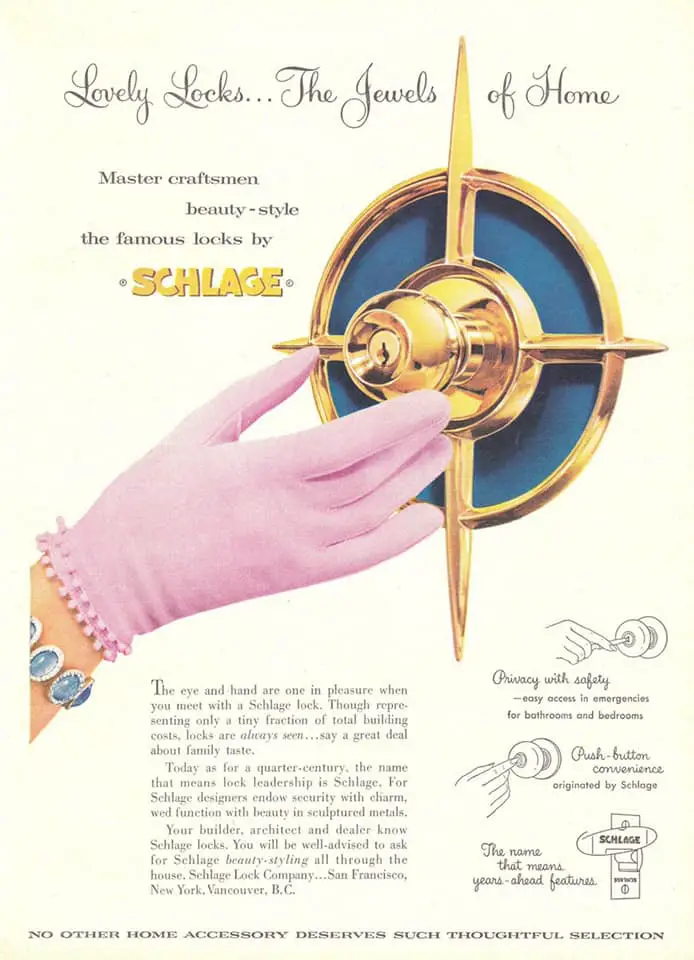
One designer who made a lasting impact in this space was Ruth Richmond. She created stylish acrylic knobs for Weiser, a company known for its innovative home hardware. These translucent, glittery designs added a bit of glamour to mid-century interiors, offering an alternative to traditional metal finishes.
The introduction of new materials also played a big role in shaping the style of the era. Manufacturers experimented with brass, chrome, aluminum, and Bakelite to create durable and stylish hardware.
Mixed-metal finishes, like satin chrome with copper, were particularly popular, adding a subtle contrast that became a signature look. The combination of streamlined production processes and innovative material choices allowed mid-century knobs to become widely available, making modern design more accessible to the average homeowner.
Claudia Desbiens
Popular Mid-Century Knob Designs
During the mid-century period, knob designs showcased a clear break from the ornate styles that preceded them. Instead, the focus shifted towards streamlined shapes, geometric forms, and a harmonious balance of form and function. Here are some iconic designs that defined mid-century knobs:
Geometric and Minimalistic: Circular, oval, square, and rectangular knobs dominated. These designs favored simplicity and practicality, eliminating unnecessary ornamentation. Their straightforward appearance suited modern interiors perfectly, enhancing the overall minimalist aesthetic.
Starburst and Atomic Motifs: Reflecting the space-age fascination and optimism of the post-war era, starburst knobs featured radiating lines reminiscent of atomic structures and celestial bodies. These became popular on cabinetry and furniture, infusing spaces with a sense of futuristic charm.
Concave Dish Knobs: Known for their elegant concave surfaces, these knobs offered a comfortable grip and understated elegance. Widely used in kitchens and bathrooms, they perfectly encapsulated mid-century modernism’s ergonomic principles.
Lever Handles: While not technically knobs, lever handles gained prominence for their ease of use and streamlined appearance, especially in high-traffic or commercial settings. Their sleek, linear form complemented the period’s aesthetic preferences.

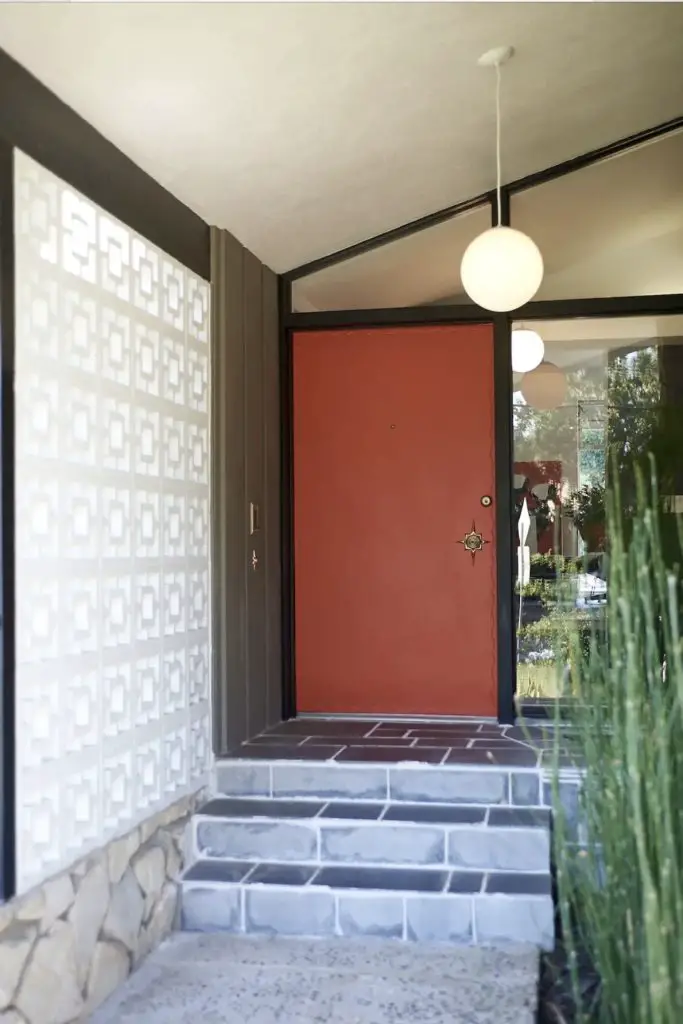
“Midcentury House Renovation in Boise, Idaho: Before/After” – Photo by Allison Corona
Materials and Innovations
Materials played a crucial role in the mid-century knob designs, with manufacturers experimenting widely to achieve both durability and visual appeal:
Brass and Chrome: Brass and chrome finishes were highly popular, offering durability, ease of maintenance, and reflective surfaces that complemented the bright, airy interiors favored during this period. Polished brass conveyed warmth and sophistication, while chrome finishes emphasized sleekness and modernity.
Aluminum and Stainless Steel: Lightweight yet sturdy, aluminum became a favorite for modernist furniture and cabinetry. Its affordability and resistance to corrosion made it ideal for kitchen and bathroom fittings. Stainless steel, prized for its hygienic qualities and durability, was commonly used in knobs for kitchens and bathrooms.
Porcelain and Ceramic: Particularly favored in kitchens and bathrooms, porcelain and ceramic knobs provided smooth, glossy finishes and were available in a range of colors, allowing for creative design expressions. These materials added an element of warmth and personality to functional spaces.
Acrylic and Lucite: With the advent of plastics and synthetic materials, knobs made from acrylic and Lucite became trendy. Transparent or lightly tinted acrylic knobs, often embedded with glitter, metallic flakes, or vibrant colors, captured the mid-century fascination with futuristic materials and innovative aesthetics.
Wood and Natural Materials: Although metal and synthetic materials were dominant, wooden knobs remained popular, especially in Scandinavian-inspired interiors. Teak, walnut, and oak were preferred for their natural beauty and warmth, providing an appealing contrast to more sterile modern materials.
Leading Mid-Century Knob Manufacturers
Several manufacturers stood out during the 1950s and 1960s, shaping the knob market with distinctive products and innovations:
Schlage Lock Company
Founded by Walter Schlage, this brand became synonymous with reliability and modern design. Schlage introduced streamlined cylindrical knobs and levers crafted from brass and chrome, emphasizing both form and functionality. Their Continental and Manhattan designs became household staples, known for elegant simplicity.
Weiser Lock Corporation
Weiser became iconic for bold, expressive designs. Notably, their starburst and diamond-shaped backplates reflected the atomic-age optimism of the era. Weiser knobs often featured polished brass and chrome finishes, becoming must-have statement pieces in mid-century homes.
Yale & Towne Manufacturing Company
Yale & Towne excelled in combining traditional craftsmanship with modern aesthetics. They produced a range of brass and porcelain knobs, often featuring subtle detailing and sleek, clean lines that resonated with mid-century elegance and sophistication.
Kwikset
Founded in 1946, Kwikset introduced revolutionary tubular lock technology that simplified knob installation. Their offerings were popular for practical and affordable designs, featuring satin chrome and polished brass finishes. Kwikset knobs became favored choices for homeowners seeking modern designs with user-friendly installations.
Baldwin Hardware
Baldwin was known for superior craftsmanship and elegant detailing. Their knobs, frequently crafted from solid brass, combined classic luxury with modern simplicity. Their extensive catalog featured everything from minimalistic designs to sophisticated, decorative knobs, becoming essential for upscale mid-century interiors.
Amerock
Amerock specialized in decorative cabinet hardware, including knobs crafted from brass, aluminum, and plastic. They were especially known for their whimsical and sleek designs, offering colorful acrylic knobs and practical metal pulls that transformed kitchens and bathrooms with playful yet stylish accents
Where to Find Mid-Century Knobs Today
If you’re looking for authentic or reproduction mid-century knobs, several companies and retailers specialize in period-accurate designs. Whether you prefer shopping online or in person, these options provide high-quality pieces:
Rejuvenation (Stores in Portland, Seattle, and Los Angeles): Known for high-quality reproductions, Rejuvenation offers a range of vintage-inspired knobs and backplates, including the Mid-Century Peg Cabinet Knob, Round Dish Cabinet Knob, and Ball Cabinet Knob. These designs are crafted from solid brass and cast zinc alloy, ensuring both durability and authenticity.
Liz’s Antique Hardware (Los Angeles, CA): A great spot for both vintage and reproduction pieces, including a variety of mid-century options.
Hippo Hardware (Portland, OR): Known for its wide selection of antique and mid-century pieces.
Olde Good Things (Multiple Locations: NY, CA, PA, TX): Specializes in architectural salvage, offering a variety of original mid-century door hardware.
Architectural Salvage Stores: Many independent salvage shops across the U.S. stock original mid-century hardware, making them great places to hunt for unique finds.
Etsy and eBay: You will find many private sellers selling vintage mid-century knobs. While finding multiple pieces with the same design might be challenging, it’s worth exploring.

BONUS: How to Install a Mid-Century Knob
Once you’ve found the perfect mid-century knob, it’s time to install it!
The good news is, this is a project you can likely tackle on your own. Below, we’ve put together a simple step-by-step guide to help you replace your door knobs. While not all knobs are the same, this guide should work in most cases.
Tools and Materials Needed:
- New mid-century knob set
- Screwdriver (Phillips or flat-head, depending on screws)
- Measuring tape
- Drill (make sure to have the right drill bit to drill the hole in the door)
- Hole saw (if needed for new installations)
- Chisel (for mortising the latch plate)
- Pencil for marking placement
Installation Guide
1. Remove the Old Knob
– If you’re replacing an existing knob, loosen the screws on the interior side.
– Pull apart the two halves and remove the spindle.
– Unscrew and remove the latch mechanism from the edge of the door.
2. Measure and Mark
– If installing a new knob, mark the height where it will be placed (typically 36 inches from the floor).
– Use a template or measuring tape to ensure proper alignment.
3. Drill the Necessary Holes
– If the door doesn’t already have a hole, use a hole saw to cut a 2 1/8-inch hole.
– Drill a 1-inch hole on the edge of the door for the latch mechanism.
4. Install the Latch Mechanism
– Insert the latch into the hole on the door’s edge, ensuring the curved side faces the door jamb.
– Chisel out space for the latch plate if needed, then secure it with screws.
5. Attach the Knob
– Insert the spindle through the latch mechanism.
– Attach both halves, making sure they align properly.
– Secure with screws, tightening them evenly.
6. Install the Strike Plate
– Align the strike plate on the door jamb.
– Chisel out space if needed, then screw it into place.
7. Test the Knob
– Turn it to make sure the latch retracts smoothly.
– Check that the door closes and latches securely.